Create Image with CodePipeline
This workshop has been deprecated and archived. The new Amazon EKS Workshop is now available at www.eksworkshop.com.
Now we are going to create the AWS CodePipeline using AWS CloudFormation. This pipeline will be used to build a Docker image from your GitHub source repo (eks-example). Note that this does not deploy the image. Weave Flux will handle that.
CloudFormation is an infrastructure as code (IaC) tool which provides a common language for you to describe and provision all the infrastructure resources in your cloud environment. CloudFormation allows you to use a simple text file to model and provision, in an automated and secure manner, all the resources needed for your applications across all regions and accounts.
Each EKS deployment/service should have its own CodePipeline and be located in an isolated source repository.
Click the Launch button to create the CloudFormation stack in the AWS Management Console.
| Launch template | ||
|---|---|---|
| CodePipeline & EKS | Launch | Download |
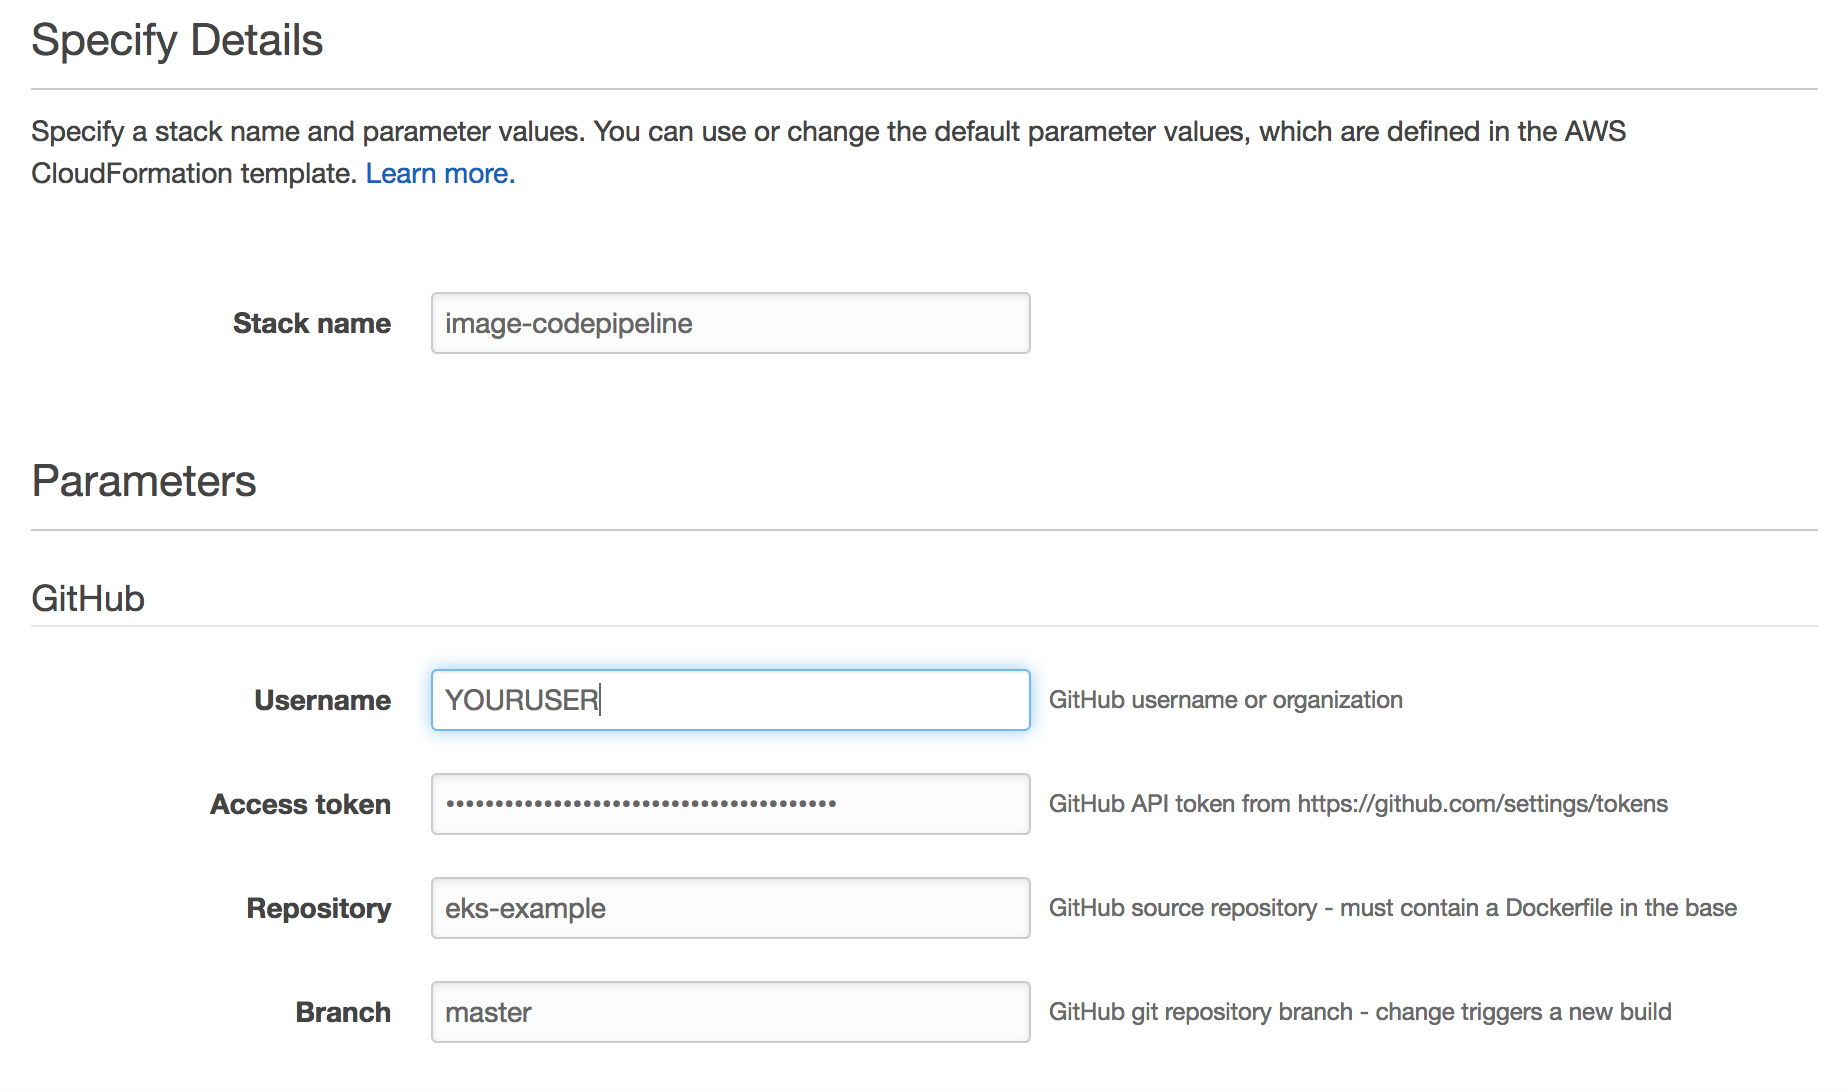
After the console is open, enter your GitHub username, personal access token (created in previous step) and then click the “Create stack” button located at the bottom of the page.
Wait for the status to change from “CREATE_IN_PROGRESS” to CREATE_COMPLETE before moving on to the next step.
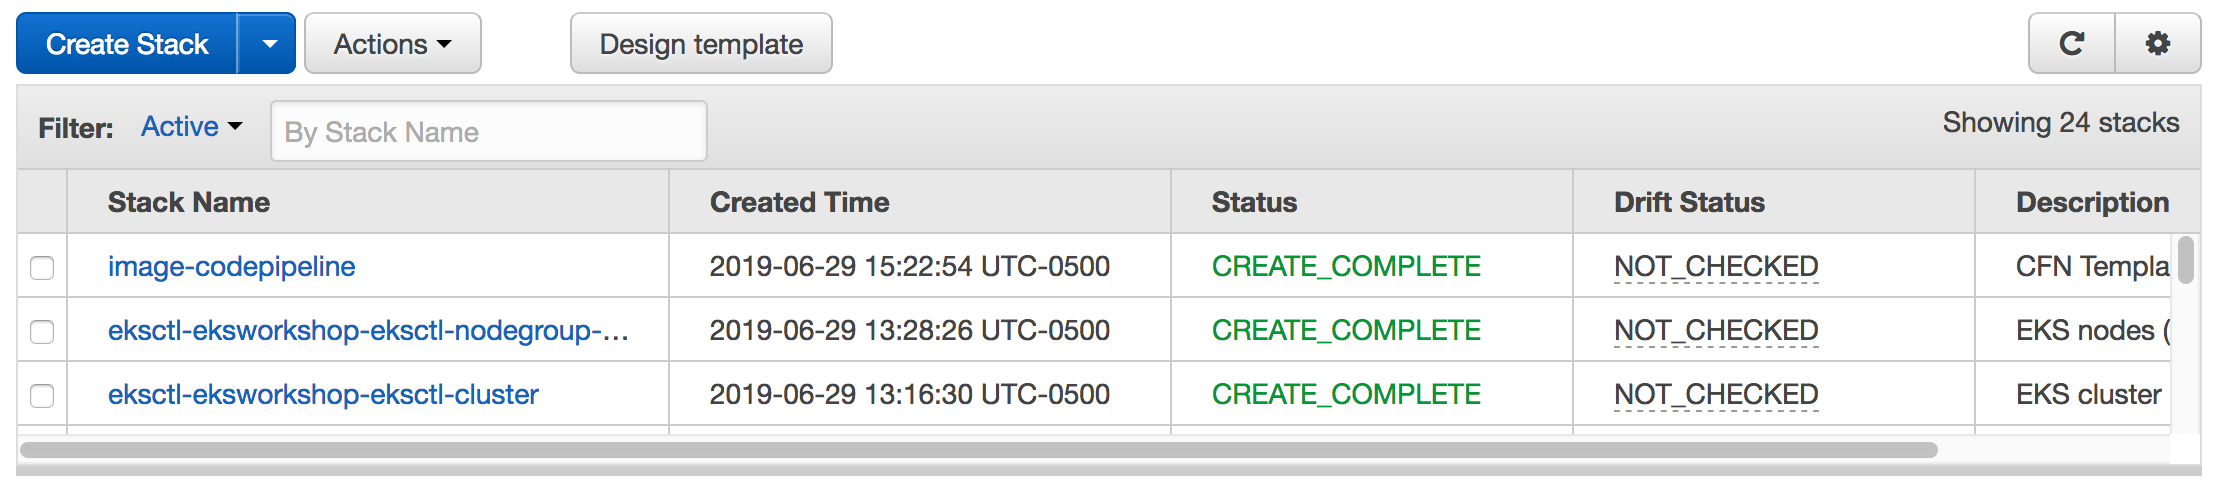
Open CodePipeline in the Management Console. You will see a CodePipeline that starts with image-codepipeline. Click this link to view the details.
If you receive a permissions error similar to User x is not authorized to perform: codepipeline:ListPipelines… upon clicking the above link, the CodePipeline console may have opened up in the wrong region. To correct this, from the Region dropdown in the console, choose the region you provisioned the workshop in.
Currently the image build is likely failed because we have no code in our repository. We will add a sample application to our GitHub repo (eks-example). Clone the repo substituting your GitHub user name.
git clone https://github.com/${YOURUSER}/eks-example.git
cd eks-example
Next create a base README file, a source directory, and download a sample nginx configuration (hello.conf), home page (index.html), and Dockerfile.
echo "# eks-example" > README.md
mkdir src
wget -O src/hello.conf https://raw.githubusercontent.com/aws-samples/eks-workshop/main/content/intermediate/260_weave_flux/app.files/hello.conf
wget -O src/index.html https://raw.githubusercontent.com/aws-samples/eks-workshop/main/content/intermediate/260_weave_flux/app.files/index.html
wget https://raw.githubusercontent.com/aws-samples/eks-workshop/main/content/intermediate/260_weave_flux/app.files/Dockerfile
Now that we have a simple hello world app, commit the changes to start the image build pipeline.
git add .
git commit -am "Initial commit"
git push
In the CodePipeline console go to the details page for the specific CodePipeline. You can see status along with links to the change and build details.
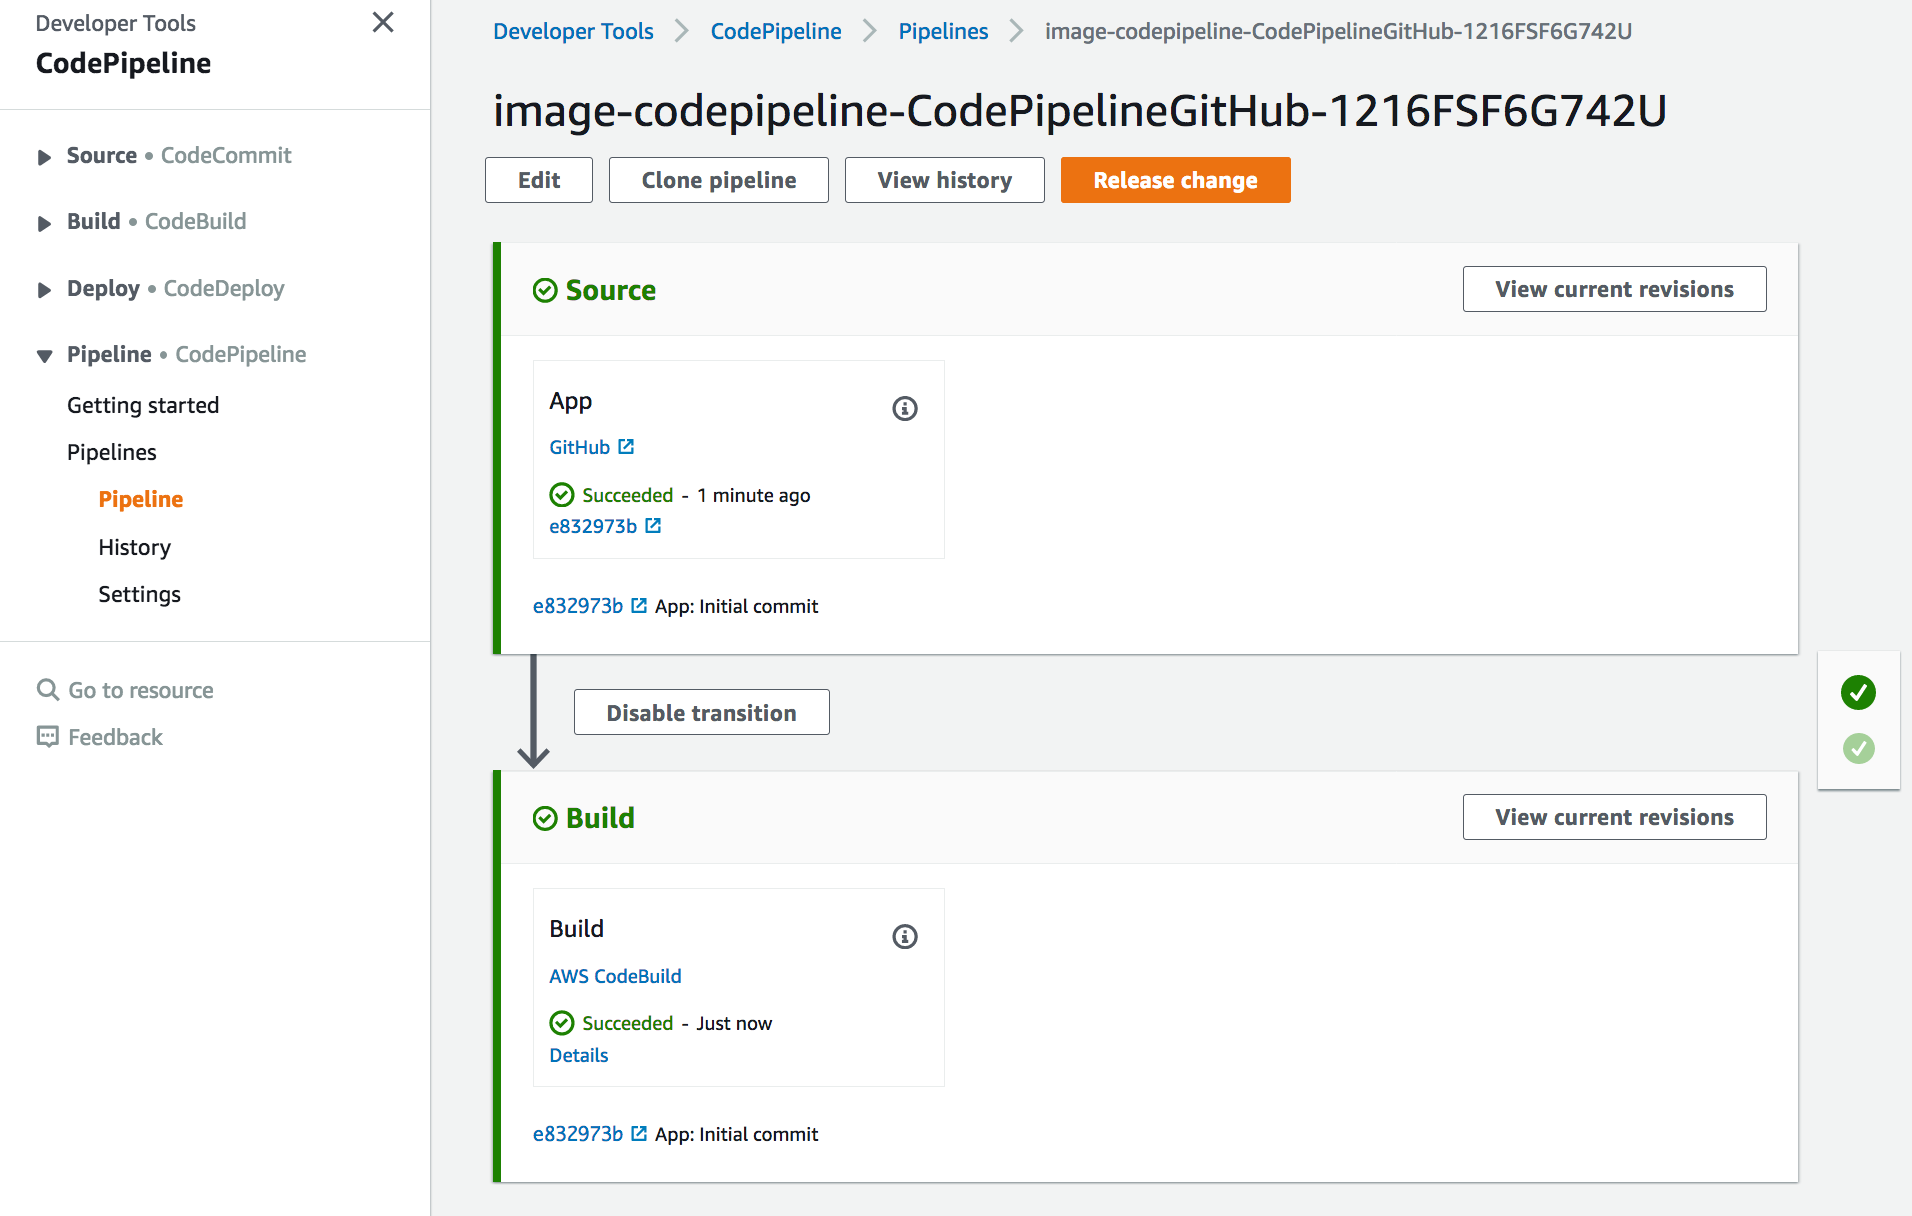
If you click on the “details” link in the build/deploy stage, you can see the output from the CodeBuild process.
To verify the image is built, go to the Amazon ECR console and look for your eks-example image repository.